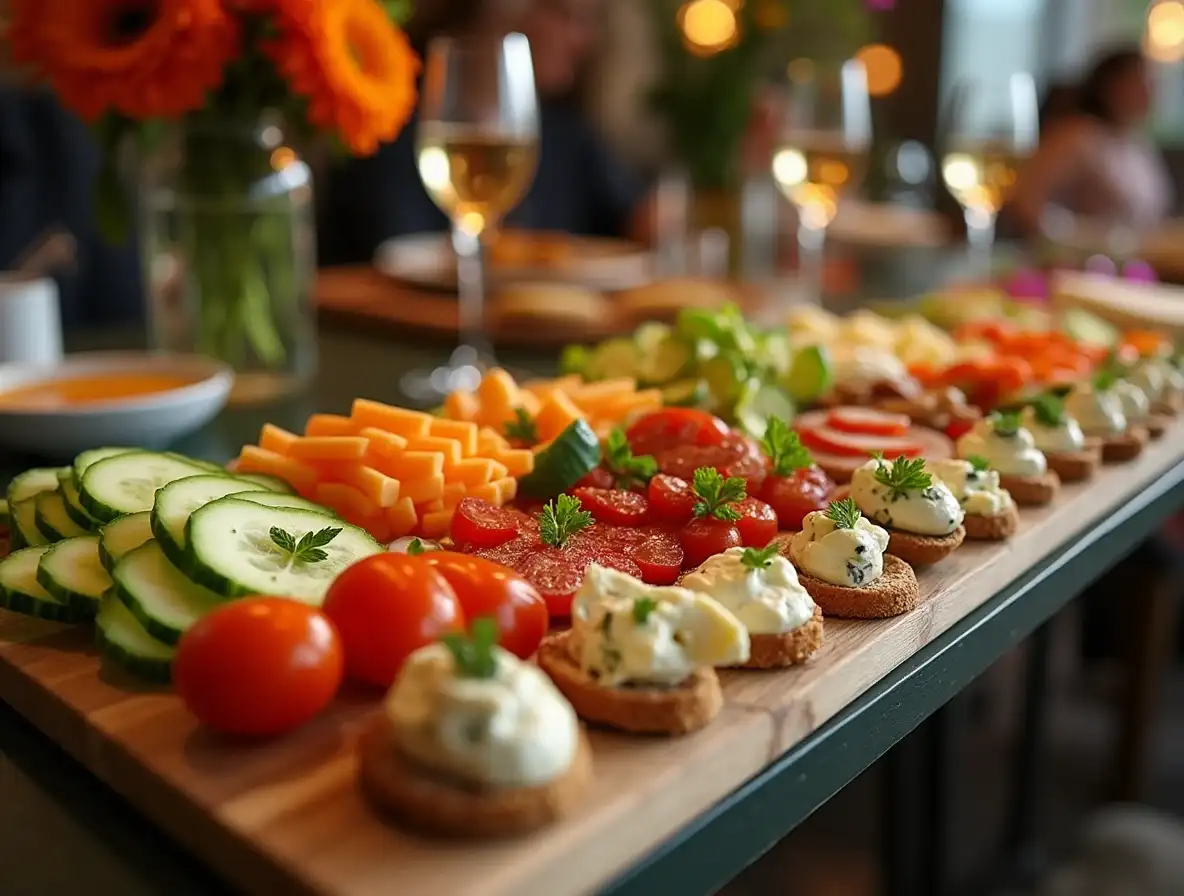
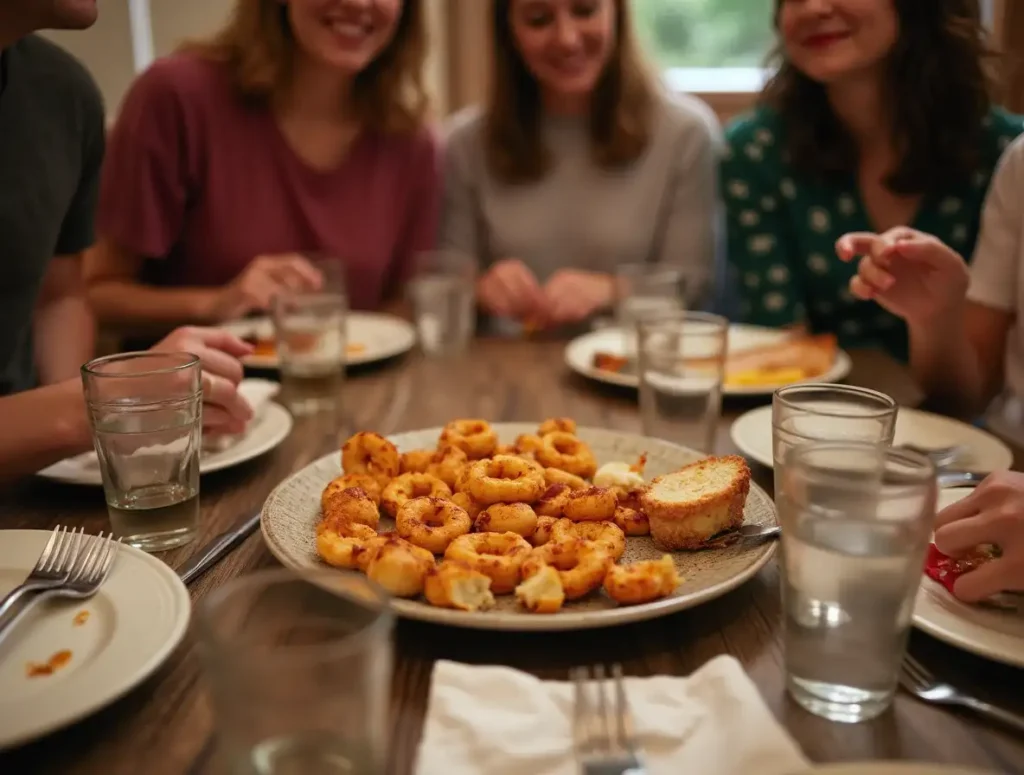
Who doesn’t love the irresistible charm of finger foods? These bite-sized delights are the ultimate crowd-pleasers, perfect for everything from casual get-togethers to elegant parties. Whether you’re hosting a lively celebration or enjoying a cozy evening with loved ones, these easy appetizers bring everyone together around the table. With their hassle-free preparation and endless versatility, they’re sure to steal the spotlight at any gathering.
In this recipe, we’ll explore simple techniques and creative flavor combinations that make finger foods a joy to prepare and share. So, roll up your sleeves and get ready to impress your guests with snacks that are as fun to eat as they are delicious!
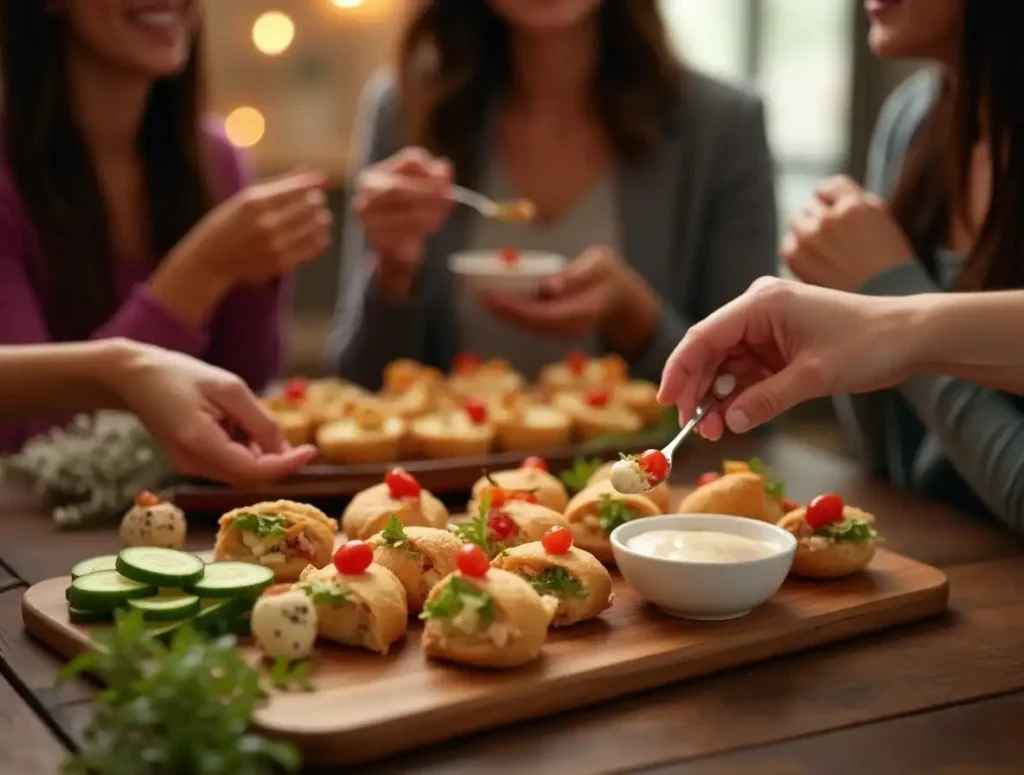
Table of Contents
Key Benefits
When it comes to hosting a gathering or preparing snacks for your loved ones, finger foods are the unsung heroes of the culinary world. They’re not only delicious and versatile but also incredibly convenient. Let’s dive into why these bite-sized delights are a must-have for your next event:
Why Choose Finger Foods?
- Effortless Preparation: Most finger foods are quick to prepare, using simple techniques that don’t require hours in the kitchen.
- Perfect for Any Occasion: Whether it’s a casual movie night or a formal dinner party, finger foods fit seamlessly into any menu.
- Crowd-Pleasing Appeal: These easy appetizers cater to a variety of tastes, ensuring there’s something for everyone to enjoy.
- Mess-Free Enjoyment: No need for utensils or complicated serving setups—just grab, eat, and savor the flavors.
Healthier Snacking Options
Finger foods aren’t just about indulgence—they can also be a great way to incorporate healthier ingredients into your diet:
- Use fresh vegetables like cucumber, cherry tomatoes, or bell peppers as the base for dips or fillings.
- Opt for lean proteins such as grilled chicken skewers or smoked salmon bites.
- Experiment with whole grains like quinoa or whole-grain crackers for a satisfying crunch.
Make It Memorable
The key to unforgettable finger foods lies in their variety and presentation. Here are some tips to elevate your snacks:
- Offer a mix of textures and flavors—think crispy, creamy, sweet, and savory.
- Pair your creations with a selection of dipping sauces to add excitement.
- Arrange your finger foods on a beautifully garnished platter for a visually appealing spread.
By focusing on these benefits, you’ll not only save time in the kitchen but also create a menu that keeps your guests coming back for more. Whether you’re an experienced host or a first-time entertainer, finger foods are the perfect way to impress effortlessly.
Ingredients
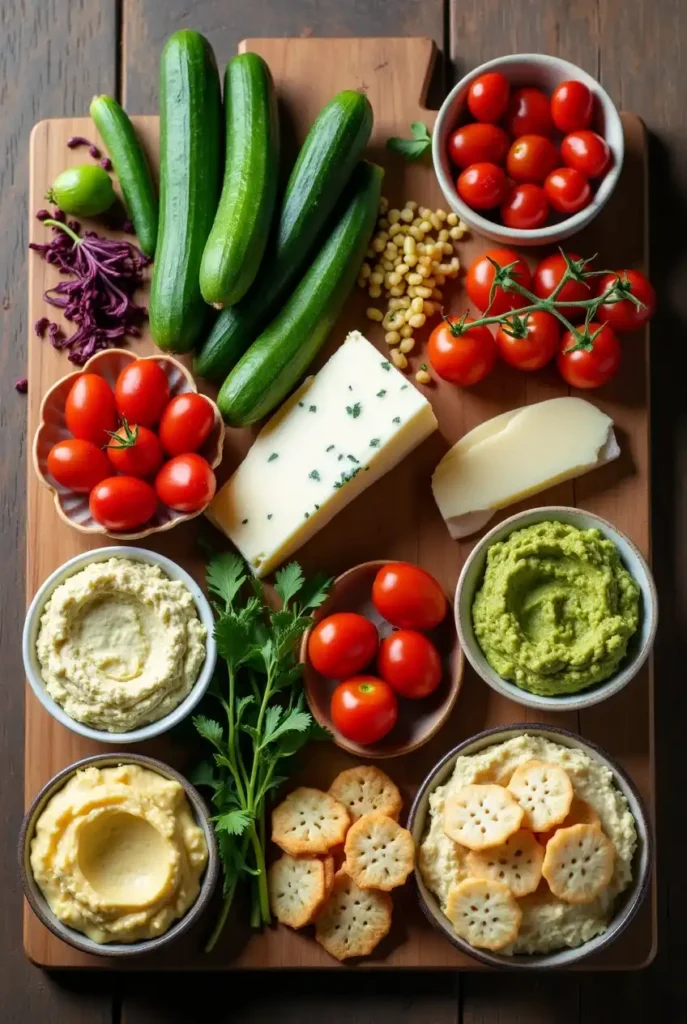
Every memorable recipe starts with fresh, quality ingredients, and finger foods are no exception. Selecting the right components not only elevates the taste but also ensures a visually appealing spread. Here’s a detailed breakdown of what you’ll need to create swoon-worthy finger foods:
Essential Ingredients
- Base Options
- Bread and Crackers: Choose crostini, mini baguette slices, or whole-grain crackers for a sturdy, flavorful foundation.
- Vegetables: Cucumber slices, zucchini rounds, or endive leaves work beautifully for gluten-free or low-carb options.
- Proteins: Mini meatballs, shrimp, or grilled chicken bites provide satisfying heartiness.
- Flavorful Fillings
- Cheese Varieties: Use cream cheese, goat cheese, or sharp cheddar for creamy and bold notes.
- Dips and Spreads: Hummus, guacamole, or herb-infused yogurt can act as bases or accompaniments.
- Marinated Ingredients: Add depth with olives, artichokes, or roasted red peppers.
- Fresh Toppings and Garnishes
- Herbs: Fresh basil, parsley, or dill not only add flavor but also brighten up the presentation.
- Fruits: Think grapes, cherry tomatoes, or sliced strawberries for a sweet, juicy twist.
- Nuts and Seeds: Sprinkle toasted sesame seeds, chopped almonds, or crushed pistachios for extra texture.
- Dipping Sauces
- Sweet and Savory Options: Try honey mustard, spicy aioli, or balsamic glaze for dynamic pairings.
- Specialty Sauces: Pesto, tzatziki, or tangy barbecue sauce add unique flavors to elevate your offerings.
Tips for Choosing Ingredients
- Keep It Seasonal: Incorporate seasonal produce to ensure peak flavor and freshness.
- Balance the Flavors: Mix sweet, salty, spicy, and tangy elements for a well-rounded platter.
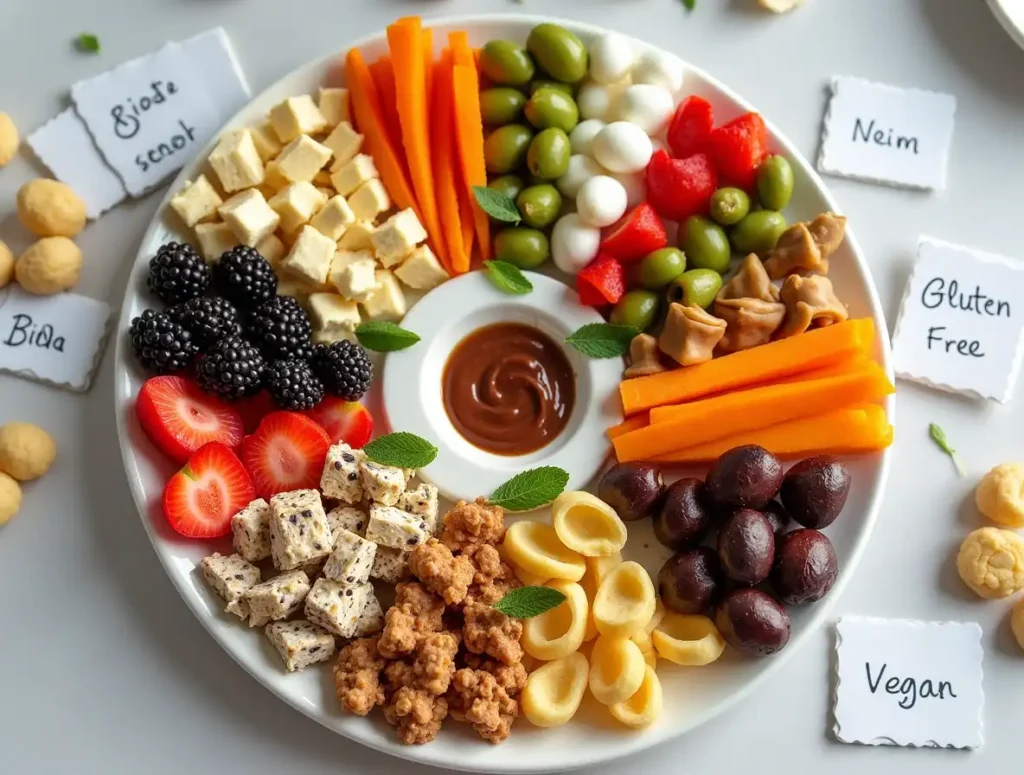
- Consider Dietary Needs: Provide gluten-free, vegetarian, or vegan alternatives to cater to all guests.
Shopping and Storage Tips
- When shopping, look for high-quality, fresh ingredients to make each bite shine.
- Store perishable items like cheese and fresh produce properly to maintain their texture and taste.
- Prep ingredients in advance, but assemble closer to serving time to preserve freshness.
By assembling a diverse array of ingredients, you’ll create finger foods that not only taste incredible but also look irresistible. It’s all about combining simple elements into extraordinary bites that delight your guests.
Instructions
Creating delicious finger foods is not only fun but also simpler than you might think! Follow these step-by-step instructions to ensure your dishes turn out perfect every time. Whether you’re a seasoned cook or a beginner, these tips will guide you through the process with ease.
Step 1: Prepare Your Ingredients
- Wash and Chop: Start by washing all fresh produce like vegetables and herbs thoroughly. Chop or slice them into bite-sized pieces for easy handling.
- Pre-cook Proteins: If you’re using meats or seafood, cook them in advance—grill, bake, or sauté depending on your recipe. Let them cool before assembling.
- Assemble Sauces: Prepare any dips or spreads, such as hummus or aioli, and store them in small serving bowls for later use.
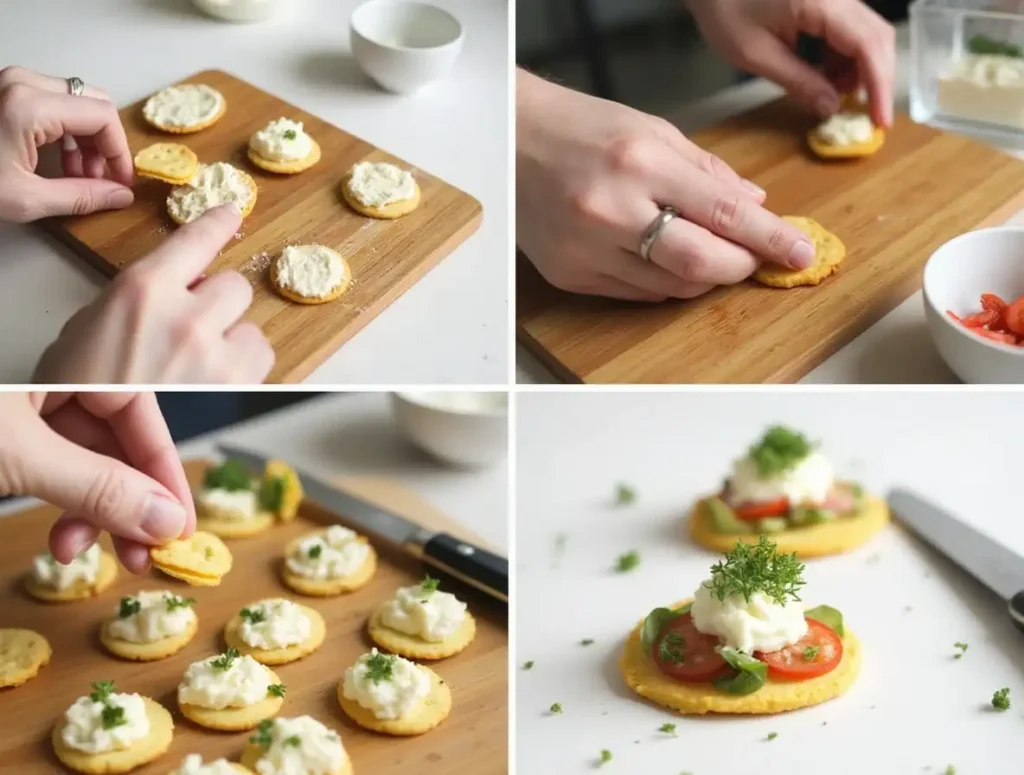
Step 2: Assemble the Base
- Lay out your chosen bases—such as crackers, sliced baguette, or cucumber rounds—on a clean, flat surface or a serving tray.
- Add a thin layer of your spread or dip to anchor the toppings and prevent them from sliding off.
Step 3: Add the Fillings and Toppings
- Layer Thoughtfully: Start with the heaviest ingredient, like a meatball or cheese slice, to ensure stability.
- Enhance with Toppings: Add complementary ingredients such as fresh herbs, a sprinkle of nuts, or a drizzle of honey for flavor and texture.
- Mix Textures: Combine crunchy, creamy, and soft elements for a dynamic bite.
Step 4: Present Like a Pro
- Arrange your finger foods on a large serving platter, ensuring a mix of colors and textures for visual appeal.
- Use garnishes like fresh herbs, edible flowers, or small bowls of dipping sauces to add a touch of elegance.
Step 5: Serve and Enjoy
- Serve immediately for the freshest taste, or cover and refrigerate if you’re prepping ahead (be sure to add any garnishes just before serving).
- Pair with your favorite beverages to complete the experience—sparkling water, wine, or a signature cocktail work beautifully.
Tips for Success
- Stay Organized: Gather all your tools—cutting boards, knives, and serving trays—before starting to save time.
- Avoid Overloading: Keep each bite manageable so guests can enjoy them comfortably without a mess.
- Get Creative: Experiment with flavors and presentations to put your unique spin on the recipe.
By following these simple yet detailed steps, you’ll create finger foods that are not only delicious but also a true feast for the eyes. Your guests are sure to be impressed by your culinary skills and thoughtful presentation!
Pro Tips and Variations
Creating finger foods offers endless opportunities to customize, experiment, and elevate your dishes. Whether you’re looking to save time, accommodate dietary preferences, or add a personal flair, these pro tips and variations will guide you to perfection.
Pro Tips for Success
- Plan Ahead
- Prep Ingredients Early: Chop vegetables, cook proteins, and prepare sauces in advance to streamline the assembly process.
- Keep It Fresh: Assemble delicate ingredients like fresh herbs or fruits just before serving to maintain their vibrant appearance.
- Balance Flavors and Textures
- Aim for a mix of savory, sweet, and tangy elements in each bite. For instance, pair salty cheese with a sweet fruit or a spicy sauce.
- Combine textures like crispy crackers, creamy dips, and crunchy nuts to keep things exciting.
- Presentation Matters
- Arrange your finger foods on a platter with varying heights and colors to create visual appeal.
- Use garnishes like fresh herbs, edible flowers, or a drizzle of sauce to add a polished, professional touch.
- Keep Portions Bite-Sized
- Avoid overloading your creations. Each piece should be easy to pick up and eat in one or two bites without making a mess.
- Offer Variety
- Provide options for different dietary preferences, such as gluten-free crackers, vegan dips, or low-carb vegetable bases.
Creative Variations to Try
- Global Flavors
- Mediterranean: Use hummus, roasted red peppers, olives, and feta cheese.
- Asian-Inspired: Combine soy-marinated tofu, sesame seeds, and cucumber slices.
- Mexican Twist: Top tortilla chips with guacamole, black beans, and a dollop of salsa.
- Seasonal Themes
- Summer: Use fresh, juicy fruits like watermelon cubes with a sprinkle of feta.
- Autumn: Incorporate roasted pumpkin, cranberries, and spiced nuts for a cozy touch.
- Winter: Try goat cheese with dried figs and a drizzle of honey.
- Kid-Friendly Options
- Mini peanut butter and banana sandwiches on whole-grain crackers.
- Cheese cubes with grape skewers for a colorful and fun snack.
- Veggie sticks with a side of ranch or hummus for dipping.
- Elegant Entertaining
- Smoked salmon on cucumber rounds with a dollop of cream cheese and fresh dill.
- Brie cheese on crostini topped with a slice of pear and a drizzle of balsamic glaze.
- Prosciutto-wrapped melon balls for a sophisticated yet simple treat.
Make It Your Own
- Don’t be afraid to experiment with different combinations of ingredients based on what you have on hand.
- Add a personal touch by incorporating your favorite flavors or using a family recipe for a signature dip.
By keeping these pro tips and creative variations in mind, you’ll not only create stunning finger foods but also leave a lasting impression on your guests. Cooking is all about having fun and expressing yourself, so let your creativity shine!
Serving Suggestions
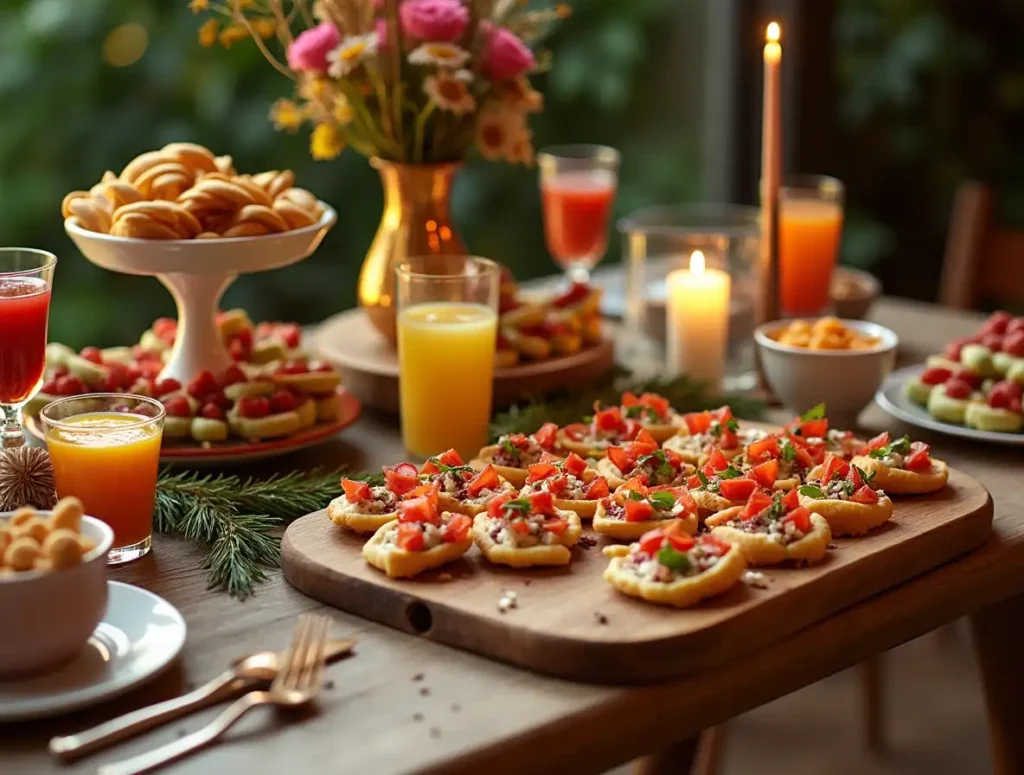
The way you serve finger foods can transform a casual snack into an unforgettable experience. With a few thoughtful touches, you can elevate your presentation and create a feast that’s as delightful to the eyes as it is to the palate. Here are some practical and creative ideas to make your finger foods the star of the table.
Presentation Tips for Maximum Appeal
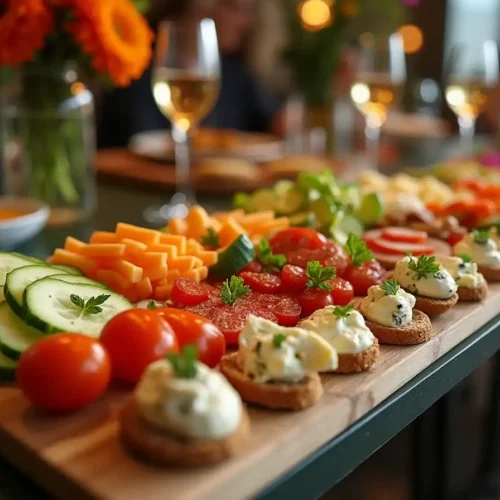
- Use Beautiful Platters
- Select trays or boards with varying textures—think wood, slate, or porcelain. They provide a stunning backdrop for your creations.
- Arrange items neatly, grouping similar flavors and colors for an organized yet artistic look.
- Create a Visual Feast
- Incorporate a mix of shapes, sizes, and colors to draw attention. For example, round cucumber bites, square crackers, and skewered items add variety.
- Add pops of color with fresh herbs, edible flowers, or vibrant sauces on the side.
- Add Layers and Levels
- Use cake stands, tiered platters, or small bowls to introduce height variations on your table. This adds dimension and makes the spread more inviting.
Perfect Pairings
To enhance the overall experience, consider pairing your finger foods with complementary accompaniments:
- Beverages: Offer wine, mocktails, or sparkling water that harmonize with the flavors of your dishes. For example:
- Pair cheesy bites with crisp white wine or lemonade.
- Serve savory options like mini meatballs with a bold red wine or iced tea.
- Dipping Sauces: A variety of sauces allows guests to customize their bites. Place them in small bowls around the platter for easy access.
Themed Serving Ideas
- Casual Gatherings
- Use parchment paper-lined baskets or rustic wooden boards for a relaxed, cozy vibe.
- Add ramekins of sauces directly on the tray to encourage a communal, family-style experience.
- Formal Occasions
- Opt for sleek serving trays with minimalist arrangements.
- Use toothpicks or mini skewers for an elegant touch, ensuring guests can enjoy their food mess-free.
- Seasonal Flair
- For spring or summer, go for light, refreshing arrangements with floral garnishes.
- During the fall or winter, include hearty, warm bites with elements like cinnamon sticks or pine sprigs for a seasonal atmosphere.
Practical Tips for Serving Finger Foods
- Portion Control: Estimate 4–6 pieces per person for appetizers or 8–10 for a finger food-only menu.
- Ease of Access: Arrange finger foods on multiple platters if serving a large crowd, so guests can access them easily.
- Temperature Management: Keep hot items warm by serving in batches or using warming trays, and chill cold dishes until just before serving.
Creating a Memorable Experience
Finger foods are more than just snacks—they’re an invitation to mingle, share, and celebrate. Whether you’re serving them as part of a larger menu or making them the main attraction, your thoughtful presentation and attention to detail will make the moment truly special.
Let your creativity shine, and remember, every bite tells a story. Your guests will leave with full stomachs and fond memories of your stunning spread!
Conclusion
Crafting irresistible finger foods is more than just preparing small bites—it’s about creating an experience that brings joy, conversation, and connection to any gathering. With their versatility, ease of preparation, and crowd-pleasing appeal, finger foods truly shine as the perfect choice for hosts and food lovers alike.
Why Finger Foods Are Worth It
These delightful snacks offer something for everyone, whether you’re catering to kids, impressing dinner guests, or preparing a simple treat for yourself. By mixing flavors, textures, and creative presentations, you can turn even the simplest ingredients into extraordinary bites.
Key Take aways
- Plan Ahead: Prep your ingredients and design a menu that balances variety and convenience.
- Get Creative: Don’t shy away from experimenting with global flavors, seasonal themes, or personal touches.
- Focus on Presentation: A beautifully arranged platter is as enjoyable to admire as it is to eat.
Encouragement for the Home Cook
Remember, you don’t need to be a professional chef to make memorable finger foods. With the right tips and a bit of practice, you’ll soon be crafting bites that look as good as they taste. And the best part? Seeing the smiles on your guests’ faces as they savor your creations.
So, roll up your sleeves, gather your favorite ingredients, and let your creativity take over. Your journey into the world of finger foods is just beginning, and the possibilities are endless. From everyday snacks to show-stopping party bites, you’re now ready to swoon over your own delicious creations!
FAQs
When it comes to creating the perfect finger foods, questions often pop up along the way. To make your experience as seamless as possible, I’ve answered some of the most common questions that home cooks and hosts have about crafting these delightful bites.
1. Can I make finger foods ahead of time?
Absolutely! Many finger foods are perfect for prepping in advance:
Dips and Spreads: Make these a day or two ahead and store them in airtight containers in the refrigerator.
Bases and Fillings: Chop vegetables, slice bread, or pre-cook proteins the night before to save time.
Assembly: For best results, assemble finger foods just before serving to maintain freshness and avoid soggy textures.
2. What are the best ways to store leftover finger foods?
Storing leftovers properly ensures they remain tasty and safe to eat:
Use airtight containers to keep them fresh.
Store refrigerated items like cheeses, meats, and fresh produce promptly after serving.
For crisp items like crackers, keep them separate from moist ingredients to retain their crunch.
3. How do I accommodate dietary restrictions?
Catering to diverse dietary needs is easier than you think:
Gluten-Free: Swap bread and crackers for cucumber rounds, lettuce cups, or gluten-free options.
Vegan: Use plant-based cheeses, hummus, or nut spreads for satisfying alternatives.
Low-Carb: Focus on veggies, proteins, and healthy fats while skipping high-carb bases.
4. What’s the secret to making finger foods look professional?
Presentation is key to impressing your guests:
Garnish Thoughtfully: Fresh herbs, edible flowers, or a drizzle of sauce elevate the look.
Color Coordination: Arrange items by color for a vibrant, eye-catching display.
Plating Techniques: Use tiered trays or arrange foods in geometric patterns for an elegant touch.
5. Can finger foods be served as a meal?
Definitely! To create a finger food feast, include a mix of proteins, vegetables, and grains to ensure variety and balance. For example:
Add hearty options like mini sliders or meat skewers.
Incorporate filling sides such as stuffed mushrooms or cheesy potato bites.
Pair with a salad or light soup for a more rounded menu.
6. What are some quick fixes if I’m short on time?
Running late? No problem!
Use pre-made bases like store-bought crostini or crackers.
Buy ready-to-eat items like marinated olives, cheese cubes, or pre-sliced veggies.
Assemble simple combinations, such as smoked salmon on cucumber slices with a dollop of cream cheese.
7. How do I keep hot finger foods warm during a party?
Keeping hot foods at the right temperature is essential:
Use warming trays, slow cookers, or chafing dishes to maintain heat.
Serve in small batches, replenishing as needed to ensure every bite is fresh and warm.
8. Are finger foods budget-friendly?
Yes! Finger foods can be both impressive and economical:
Choose versatile ingredients like bread, fresh vegetables, and cheese that stretch across multiple recipes.
Opt for homemade dips and spreads to save on store-bought costs.
Incorporate seasonal produce for affordable yet flavorful additions.
By addressing these common concerns, you’ll feel more confident and prepared as you dive into making and serving finger foods. Whether you’re planning a small gathering or a big event, these tips will help ensure your culinary creations are a hit!
Finger Foods
Ingredients
Bread and Crackers:
- Choose crostini mini baguette slices, or whole-grain crackers for a sturdy, flavorful foundation.
Vegetables:
- Cucumber slices zucchini rounds, or endive leaves work beautifully for gluten-free or low-carb options.
Proteins:
- Mini meatballs shrimp, or grilled chicken bites provide satisfying heartiness.
- Flavorful Fillings
Cheese Varieties:
- Use cream cheese goat cheese, or sharp cheddar for creamy and bold notes.
Dips and Spreads:
- Hummus guacamole, or herb-infused yogurt can act as bases or accompaniments.
Marinated Ingredients:
- Add depth with olives artichokes, or roasted red peppers.
- Fresh Toppings and Garnishes
Herbs:
- Fresh basil parsley, or dill not only add flavor but also brighten up the presentation.
Fruits:
- Think grapes cherry tomatoes, or sliced strawberries for a sweet, juicy twist.
Nuts and Seeds:
- Sprinkle toasted sesame seeds chopped almonds, or crushed pistachios for extra texture.
- Dipping Sauces
Sweet and Savory Options:
- Try honey mustard spicy aioli, or balsamic glaze for dynamic pairings.
- Specialty Sauces: Pesto tzatziki, or tangy barbecue sauce add unique flavors to elevate your offerings.
Instructions
Step 1: Prepare Your Ingredients
- Wash and Chop: Start by washing all fresh produce like vegetables and herbs thoroughly. Chop or slice them into bite-sized pieces for easy handling.
- Pre-cook Proteins: If you’re using meats or seafood, cook them in advance—grill, bake, or sauté depending on your recipe. Let them cool before assembling.
- Assemble Sauces: Prepare any dips or spreads, such as hummus or aioli, and store them in small serving bowls for later use.
Step 2:
- Assemble the Base
- Lay out your chosen bases—such as crackers, sliced baguette, or cucumber rounds—on a clean, flat surface or a serving tray.
- Add a thin layer of your spread or dip to anchor the toppings and prevent them from sliding off.
- Step 3:
- Add the Fillings and Toppings
- Layer Thoughtfully: Start with the heaviest ingredient, like a meatball or cheese slice, to ensure stability.
- Enhance with Toppings: Add complementary ingredients such as fresh herbs, a sprinkle of nuts, or a drizzle of honey for flavor and texture.
- Mix Textures: Combine crunchy, creamy, and soft elements for a dynamic bite.
Step 4:
- Present Like a Pro
- Arrange your finger foods on a large serving platter, ensuring a mix of colors and textures for visual appeal.
- Use garnishes like fresh herbs, edible flowers, or small bowls of dipping sauces to add a touch of elegance.
Step 5:
- Serve and Enjoy
- Serve immediately for the freshest taste, or cover and refrigerate if you’re prepping ahead (be sure to add any garnishes just before serving).
- Pair with your favorite beverages to complete the experience—sparkling water, wine, or a signature cocktail work beautifully.
Notes
Nutrition Information (Per Serving)
- Calories: 150 kcal
- Fat: 8g
- Saturated Fat: 3g
- Cholesterol: 12mg
- Sodium: 210mg
- Carbohydrates: 14g
- Fiber: 2g
- Sugar: 3g
- Protein: 5g
Recipe Categories
- Course: Appetizer, Snack
- Cuisine: Global Fusion
- Diet: Vegetarian (adjustable to vegan or gluten-free)
- Method: Assembled, Baked
- Keyword: Finger foods, Easy appetizers, Party snacks, Bite-sized delights
- Skill Level: Beginner-friendly